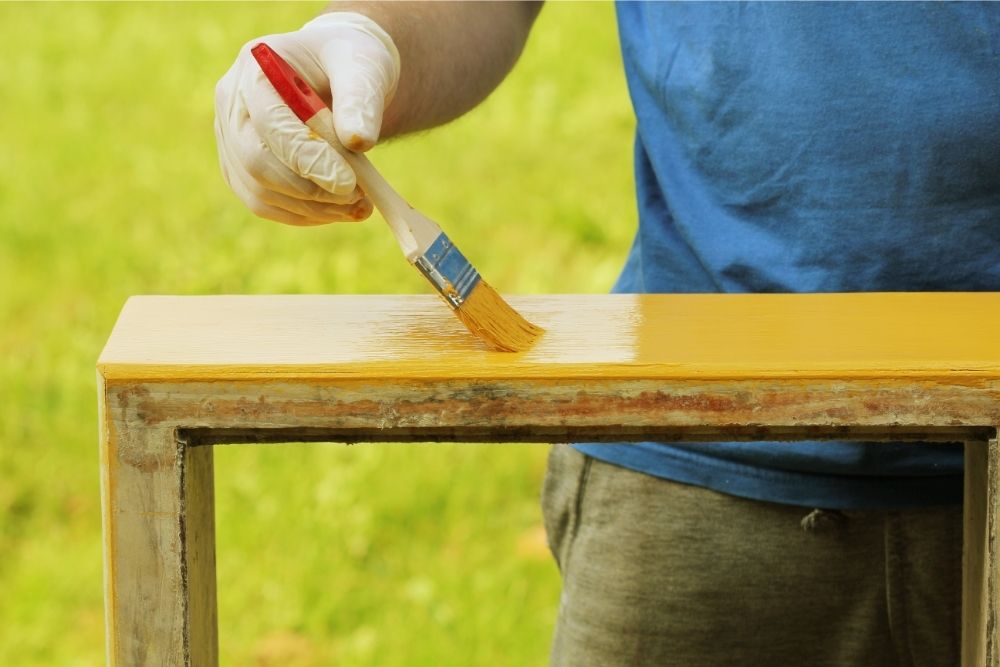
If you’re wondering how to paint over high gloss paint without sanding, you’ve come to the right place.
Glossy painted surfaces can be magnificent, especially when the paint color matches the rest of the décor. But you will have to touch up the paint at some point to retain that splendor.
While a new coat of paint won’t adhere well to glossy surfaces, you don’t necessarily have to strip down or sand the trusty old paint entirely. Instead, you only need to know how to paint over gloss paint without sanding.
Can You Paint Over a Glossy Surface Without Sanding?
Yes, you can paint over a high gloss without sanding. Start by cleaning the glossy surface with sugar soap and water. Once it’s completely dry, scuff it with a de-glosser and let it dry for at least 10 minutes. After that, apply a suitable primer and then paint.
How To Paint Over High Gloss Paint Without Sanding
Painting over painted wood with gloss requires proper surface preparation to give the new layer of paint something to grip on. Here are the supplies you will need to paint without sanding and the steps to follow.
What you will need
- Liquid de-glosser
- A pair of goggles to protect your eyes during de-glossing
- A pair of gloves to keep the chemicals off your skin
- Face mask for your protection
- Primer to help the paint stick to the surface
- Paint
- Paintbrush and roller
- Lint-free cloth
- Drop cloth
- Sugar soap and water
- Sponge
Steps to Follow When Painting over Glossy Paint
Here is the procedure for painting over gloss paint without using fine-grit sandpaper.
Step 1: Prepping the workspace
Start by removing anything that could get in the way while painting. Ideally, you want to take down murals if painting a wall and move any tables and chairs to create room.
The exercise may require a bit of movement, depending on the size of the project. So, removing any obstacle that might get in your way helps create the required space.
You also need to cover the floor and anything you don’t intend to move with a drop cloth or plastic sheeting. Spills are common when painting; the cover will help protect these surfaces from paint splatters or drips.
Additionally, ensure you are working in a well-ventilated area. If you are painting a movable item, you can paint it outside or in the garage. If you are working on painted walls or some other fixed part of the house, open the windows to ensure proper ventilation.
Step 2: Protect yourself
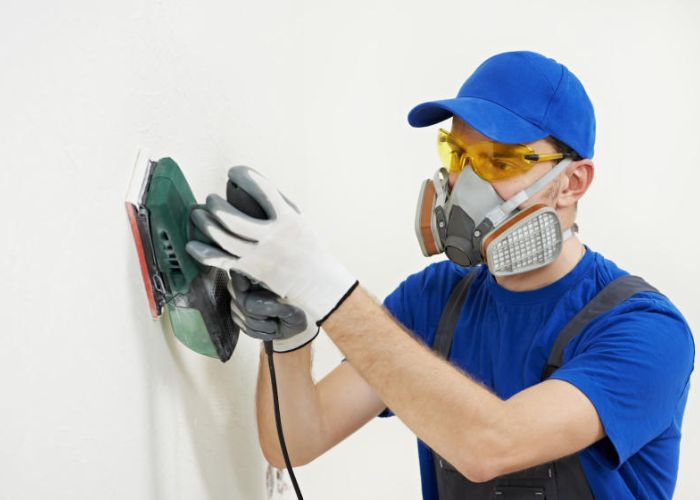
Some of the items you will use in the painting process contain chemicals or produce fumes. Some of these fumes can be toxic to inhale, so ensure you wear a protective face mask.
Specifically, you may want to wear a face mask when de-glossing, priming, and painting.
You don’t want your skin to come in contact with chemicals. Be sure to wear rubber gloves to protect your hands.
You will need to wear a pair of goggles when using a de-glosser. This is because the product tends to emit fumes that may be unsafe to your eyes.
Step 3: Prepare the surface you want to paint
Painting requires a clean surface. Remove any nails and hooks if you are painting a wall, and clean it with sugar soap and water.
Dip a sponge into a mixture of warm water and soap, wring it to remove the excess solution, and use it to wipe the entire surface you want to paint.
You want to use gentle, circular motions when removing dust, loose dirt, and grime. Ensure you clean from the bottom up.
If there’re stubborn stains, apply generous amounts of the cleaning solution to the surface and let it sit there for about 10 minutes before rubbing with a sponge.
Once you remove the dirt, rinse the surface with clean water from the top down and use a clean towel or rag to dry the gloss paint. Thoroughly wipe away all the moisture before you proceed to the next step.
Alternatively, you can just let the paint air dry for approximately 30 minutes to one hour. Feel it with your hands to ensure it’s dry before you proceed.
Note: You can also use a mixture of warm water, dish soap, and white vinegar to prepare your cleaning solution. This mixture is also pretty effective in lifting dirt and stain off surfaces. Ensure you stir the mixture well before using it.
Step 4: Seal off the parts you don’t want to paint
Use painter’s tape to cover electrical sockets and any other areas where you don’t want to get the paint. These parts should include the ceiling and skirting boards if you are working on a wall.
Run the tape along the skirting boards and ceiling line to protect them from paint and help you achieve professional-looking clean lines.
Step 4: De-gloss the paint
The purpose of de-glosser is to scuff up the surface in the same way a sandpaper would. Attempting to paint directly on the high-gloss surface would result in peeling problems soon after completing the paint job.
So, ensure you give the paint something to grab onto. Use a clean, lint-free rag to apply a de-glosser to the surface.
You can apply more than one layer of the liquid de-glosser.
How to use a liquid de-glosser
To use a de-glosser, here are the steps to follow:
- Start by wearing a pair of rubber gloves, a protective face mask, and goggles.
- Saturate the rag with the liquid and rub it in circular motions until you cover every inch.
- Let it sit for at least 10 minutes on the surface.
Once you have applied the liquid de-glosser, you have up to 7 days to apply the paint. Sometimes you can have up to 10 days, depending on the de-glosser and the activity around the high gloss surface.
However, we recommend priming immediately after 10 minutes have elapsed. The surface could get dirty again if you wait for days before painting, affecting the quality of your paint job.
Step 5: Apply the primer
If the high gloss surface has oil-based paint, you will want to ensure the primer is oil-based too. If it’s water-based, ensure the primer is equally water-based. The idea is to ensure you are working with the same base as the original coat.
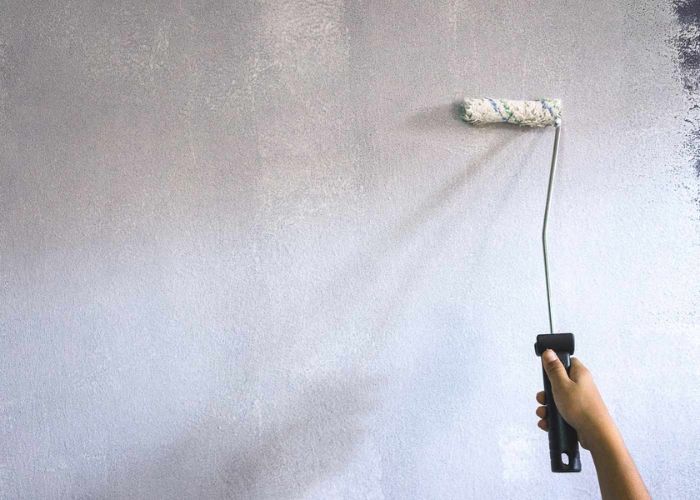
Primer is essential as it helps the paint adhere to the surface. We recommend using a roller to apply the primer.
If there’re grooves on the surface, you may use a high-quality paintbrush to apply primer to the grooves and reserve the roller for flat surfaces.
Apply a thin, even coat starting at the top and working your way down for good adhesion. Wait until the first coat is dry before adding a second one. Two coats of primer would be good enough.
The manufacturer will usually specify how much time you need to wait between coats. Often, the drying time between coats of primer will be about one hour.
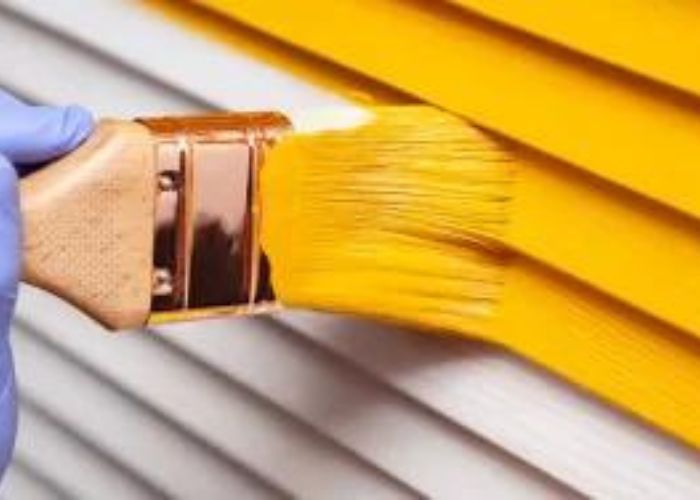
Step 6: Apply the paint.
Once the primer is dry, it is time to paint. Use a paint roller or brush to apply the paint in the same way you did the primer. Alternatively, you could apply the paint with a paint sprayer starting from the top and working your way down.
Keep each layer of paint thin and even. And make sure you let each coat dry before applying the next. The product label should show you how much time to wait between coats.
In any case, always test the painted surface by touching it lightly with your fingers to ascertain it’s dry. It simply needs to be dry to the touch for you to apply a subsequent layer.
You can apply two coats or more paint layers depending on the color intensity and coverage you want.
Also read: How to remove oil paint from brushes without paint thinner.
How to Choose Paint to Use Over Glossy Paint
To choose pain to use over a high gloss surface, we recommend choosing your product based on the type of base you want to paint on. Always consider going for the same base to achieve the best results.
For example, if the glossy surfaces you want to repaint are painted with an oil-based product, buy an oil-based paint. If the floor has water-based paint, choose a water-based product to apply over it.
You could also go for a similar color. For instance, if the high gloss paint is grey, you may go for grey paint. On the other hand, if it is white, you could consider white paint.
However, if you want to change the color, ensure you apply several thin layers of the paint for better coverage. The important thing is to have the same base.
So, it is upon you to decide what you like best regarding the paint color.
How to Determine if a Painted Wall has Oil- or Water-Based Paint
There’s a simple test for determining if your high gloss paint is water-based or oil-based.
All you need is some methylated spirit and a clean rag. Saturate the rag with some methylated spirit and rub it on a small section of the painted wall.
Check to see if the rag picks the wall color or not. If the paint is water-based, it will stain the damp rag. However, if it’s oil-based paint, it won’t stain the cloth.
Do I Need to Prime Over High Gloss Paint?
You don’t have to prime the surface if you are painting over gloss with gloss. In this case, simply clean and sand the surface, then paint it.
If you want to paint over gloss woodwork with an eggshell, flat or satin paint, you won’t have to use a primer. Instead, you can lightly sand the surface then apply the new paint layer without priming.
Can I Spray Paint Over Gloss Paint?
Yes, you can spray paint over gloss paint if you use oil-based paint.
Oil-based paints are formulated to adhere to high gloss painted surfaces with ease. This explains why the oil-based spray paint over gloss will stick without a problem.
Still, ensure you lightly sand the surface and wipe off the dust and debris before applying the paint.
Can I Paint Flat Over Gloss?
You can paint flat over gloss once you have roughed it up a bit—scuff sand the glossy surface to give the new paint something to grip on.
Once you have sanded the glossy layer, you will have knocked off the outermost sheen leaving it ready for the flat layer of paint.
Can I Put Satin Paint Over Gloss Paint?
Yes, you can put satin paint over gloss as long as you sand the gloss to knock off the sheen. The satin will have no trouble sticking to the painted surface.
You could also use a liquid de-glosser to prep gloss walls for repainting if you don’t want to sand them. The de-glosser will have the same effect as when you sand with a fine-grit grip sandpaper.
See Also: How to repaint a deck with peeling paint
How do You Fix Peeling Semi-Gloss Paint?
Here is a simplified procedure for fixing peeling semi-gloss paint.
Step 1: Start by lightly sanding the failing paint.
Step 2: Apply a thin layer of oil-based primer on top of the water-based latex paint.
Step 3: Sand the coat of primer lightly to get an even, smooth surface.
Step 4: Apply two or more coats of high-quality semi-gloss enamel on the primed surface.
DIY Tips for Painting Over a Semi-Gloss Paint
- The secret to sanding over semi-gloss is to sand and remove the sheen before repainting with flat paint.
- Always wear a face mask when sanding any painted surface.
- Always wear goggles and rubber gloves when using a de-glosser.
- Please don’t wait for days after de-glossing a surface before painting it.
See: Can you paint enamel over latex?
FAQs
Can you sand semi-gloss paint between coats?
Yes, it is all right to sand semi-gloss paint with fine-grit sandpaper between coats after letting each coat dry. The important thing is to remove the sanding residue before adding each subsequent coat.
How much do you have to sand gloss finish before repainting?
A high gloss finish requires only light sanding before repainting. Use between 220 to 320 grit sandpaper to scuff sand the slick surface before repainting. You may want to start with a coarser grit of sandpaper before you sand with a finer-grit option.
Painting over gloss without sanding Summary
So, Whether you want to paint with a new color or change the sheen from glossy paint to matte paint, flat paint, or something else, knowing how to paint over high gloss paint without sanding can save you some elbow grease.
We hope you find this guide useful. Please let us know your thoughts or additions in the comments.
Thanks for the tips, my house has high gloss paint everywhere. Ive spent hours on hours trying to remove it from window frames with paint remover and the idea of doing it to all the skirting boards, doors and trimmings was getting me down. Your suggestions seem much more practical